
So in part one (found here) we went over the plan and specification for the machine, once all of the parts were ordered and delivered it was finally time for the build process!
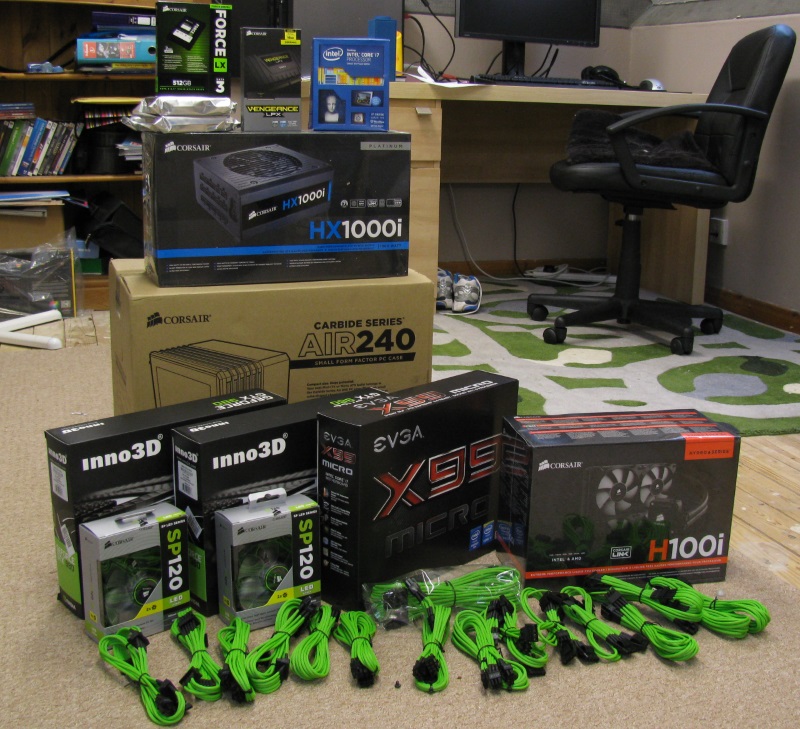
To begin with here’s a picture of all of the parts before the big task of putting it altogether begins – yes this will all fit into the tiny Corsair Air 240 case!
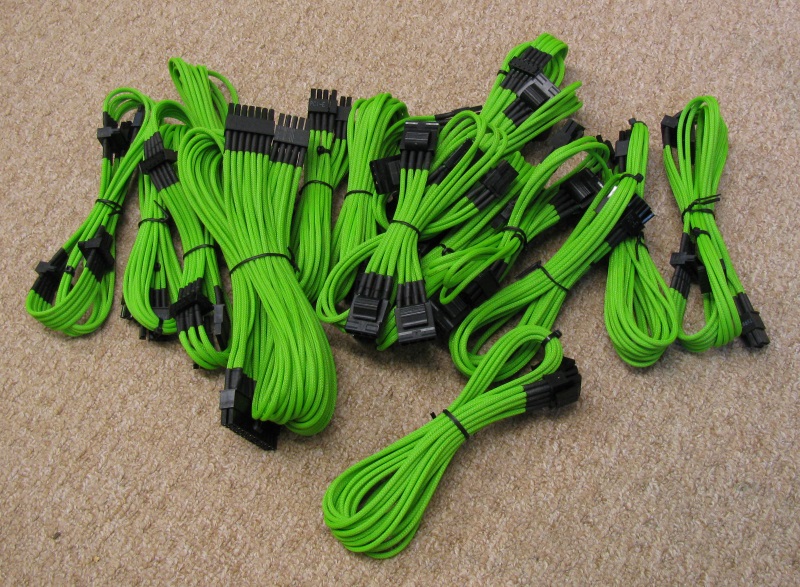
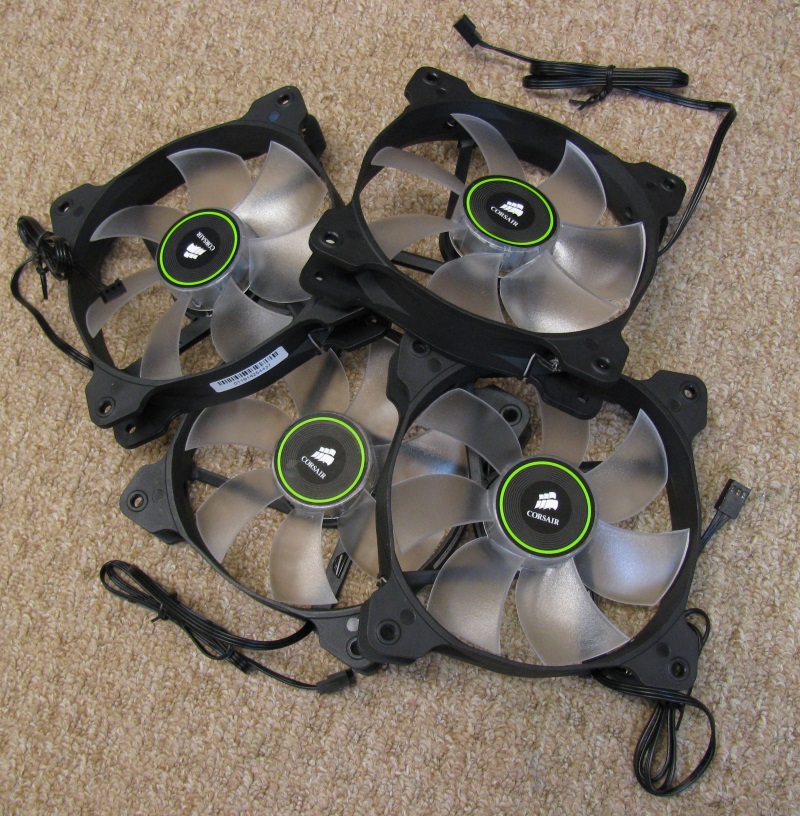
As green is the theme (for obvious reasons!) having the Corsair Professional Series Green Cables was perfect, they don’t just look good and fit the theme but they’re incredibly easy to work with! On top of those we had the Corsair Air Series SP120 LED Green that deliver high performance cooling but also have lovely green LED lighting.
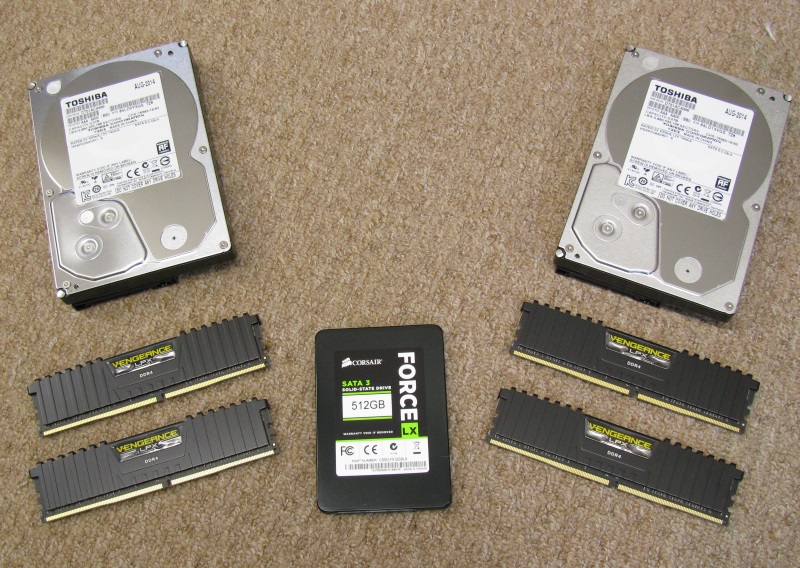
The memory and SSD were taken care of by Corsair again, with 16GB of Corsair Vengeance LPX DDR4 2666MHz memory, and a huge 512GB Corsair Force Series LX SATA 3 SSD. As one of the jobs of this machine will be to record and edit gameplay, we went for large mechanical 3TB Toshiba drives in a RAID 1. This means that all data is mirrored on both drives, so if one fails then the data is not lost.
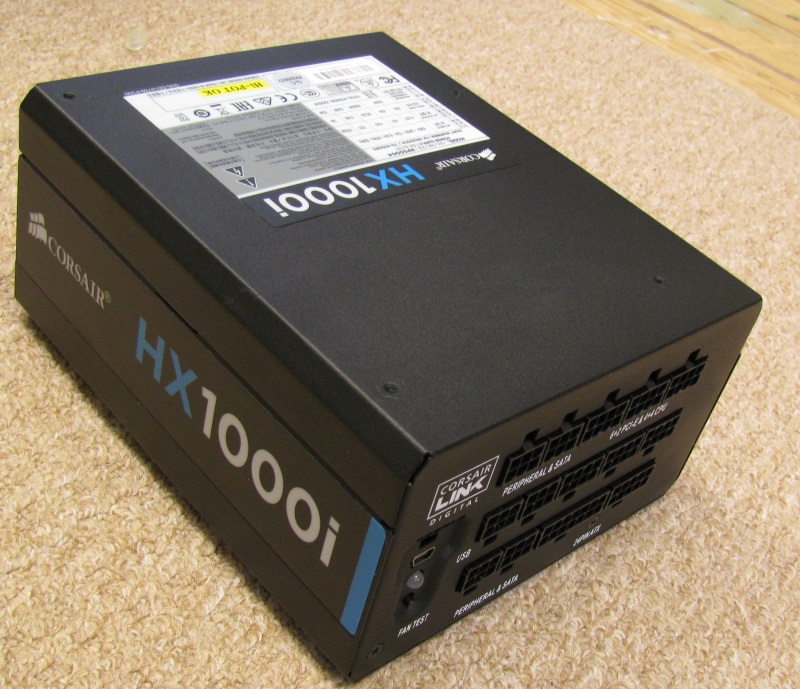
Quality power supplies are often overlooked by system builders, which can cause reliability problems and even the failure of parts in some cases, so the Corsair HX1000i 1000W looked to be the perfect fit for this system as not only is it modular (no unused cables taking up space!) but it integrates with Corsair Link software which monitors performance and fan speed.
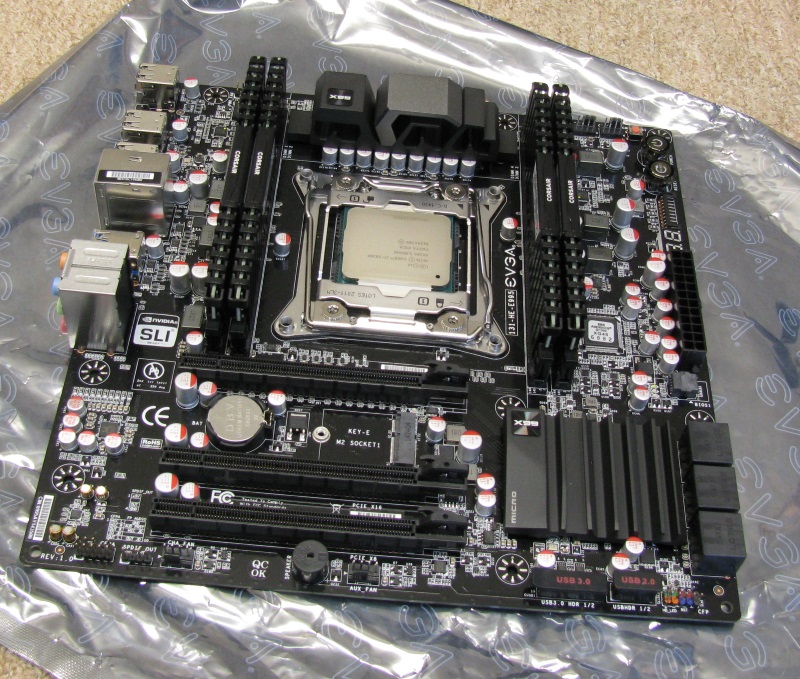
Here’s the EVGA X99 Micro motherboard with the memory and Intel i7 5820K installed, with all of the components being either black or green so far we decided to try the installation in a black Air 240 first, with the option of moving to a white one afterwards!

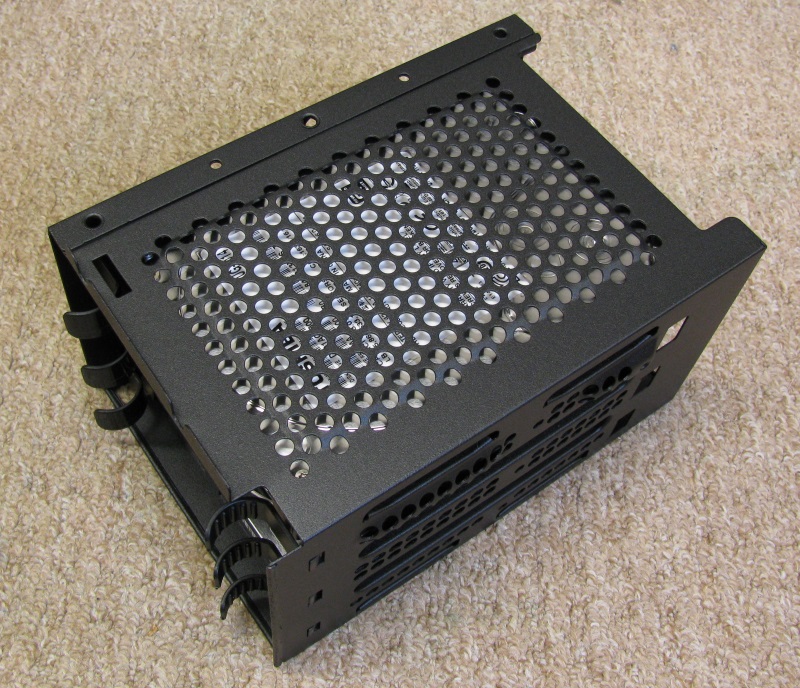
Installing the storage drives was the easiest it’s ever been in a build for me, they slot into trays on other side of the motherboard, which not only keeps them out of the way for tidiness purposes but also helps with airflow too – with so many components in such a small case making the most of space to allow for airflow is key.
Powerful CPUs require some serious cooling, this was my first adventure into the world of water cooling. Not only does the Corsair Hydro Series H100i perform brilliantly to keep CPU temperatures low, but like the power supply it can be monitored using Corsair Link software.
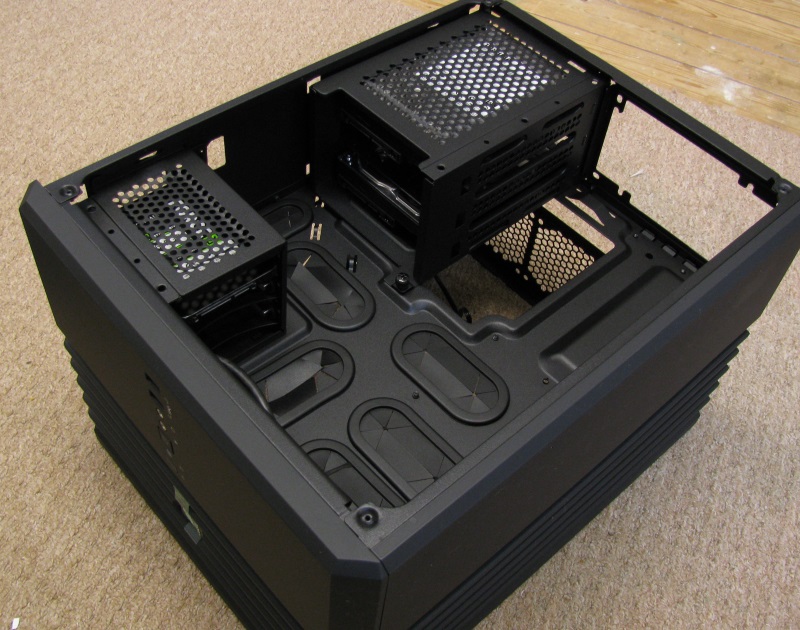
Time to install the motherboard and CPU cooler into the case, with two of the fans placed in front of the cooler’s radiator to draw air in through the front of the case. Next up is to cable up the hard drives and front panel, these go straight through the cable management hole in the tray, keeping things nice and neat!


In Part 3 I’ll cover the installation of the graphics cards, power cables and show off the finished build, I think it looks pretty amazing in the black case but it’s going to be difficult to sway me away from the green and white colour scheme!